


NewsInformation Center
Button pull tester test considerations shared
2023/01/03
Share:
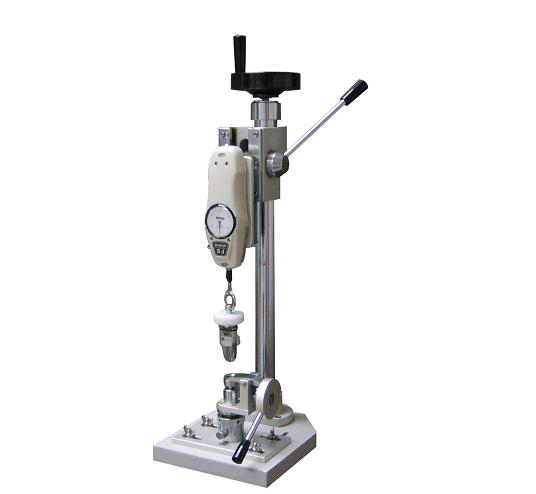
The button pull tester is used to define the responsibility of the garment manufacturer to ensure that buttons, buttons and fastenings are properly attached to the garment, preventing them from falling out of the garment and creating a risk of swallowing by babies. Therefore, all buttons, push-buttons and fastenings on garments must pass its test.
The button pull tester has a double space structure with a lower cylinder, where the upper beam and the middle beam are separated by the tensile space, mainly for tensile testing of the specimen. Between the working table and the middle beam is the compression space, which can realize the compression, bending, shearing and other tests on the specimen. The tension space and compression space can be adjusted automatically by rotating the screw and driving the middle beam up and down.
Let us understand the following matters that need to be noted when the button pull tester is conducting the test.
1, should choose to install in clean, dry, vibration-free and room temperature can be controlled in the (10 ~ 35) ℃ room. And the room should have enough space to ensure that there is more than 70cm of space around the tester for testing and daily maintenance.
2, the installation location will be down to dig a pit, the size than the base of the test machine is longer and wider than 50cm each, the depth is not less than 30cm.
3、Pour concrete of strength grade not less than C20 in the pit, leaving the holes for anchoring the foundation screws and the pipes for installing the circuit and sensors when pouring the concrete. The plane of the concrete foundation should be levelled with a leveling instrument.
4. Connect the three-phase four-wire power supply, the power supply should be installed with air switch and earth leakage protection device. The electric wire should be greater than 150cm from the ground, and the wire should be installed with a manual electric switch to control the power supply of the testing machine.
5, the main body should use the frame level meter or borrow the accessories in the line hammer in two mutually perpendicular directions to correct the verticality of the column, with the method of inserting a small iron piece at the bottom of the main body to adjust. Install the ground screws and as with spring washers. Pour cement mortar of higher strength over the holes of each foot screw and fill in the various gaps between the testing machine and the ground, sprinkle with water for more than a week and then strengthen the screws.
Previous: Xenon lamp aging test box printing ink light resistance aging test
N e x t : How to extend the service life of UV Aging Test Chamber?
